As you have read in Part 1 & Part 2 there are multiple methods of installing hardwood flooring, both engineered and solid. In Part 3 we will examine the pros and cons of choosing the glue-down method of installation.
Before you begin
Before the installation begins, it is important to perform a thorough job-site inspection. Ensure that the HVAC is operational and the hardwood product is completely acclimated to the temperature and humidity at which the room will be maintained when occupied. The floor will be glued directly to the sub-flooring using a hardwood flooring adhesive. With that said one of the most important factors while dealing with glue-down installation is going to be your subfloor.
Subfloor
Subfloor preparation is critical on all job sites, but especially for glue down. Subfloor preparation can range from sanding, scraping, leveling, filling low spots, or installing a whole new subfloor. A general guideline while leveling your subfloor would be not to allow more than a 3/16” difference in height within a 10-foot diameter. When gluing over a concrete slab, it is important to take proper moisture readings. The concrete slab needs the proper moisture vapor protection underneath and proper drainage away from the building. Once your subfloor preparation is complete and your floor is level it is time to choose an adhesive.
Adhesives
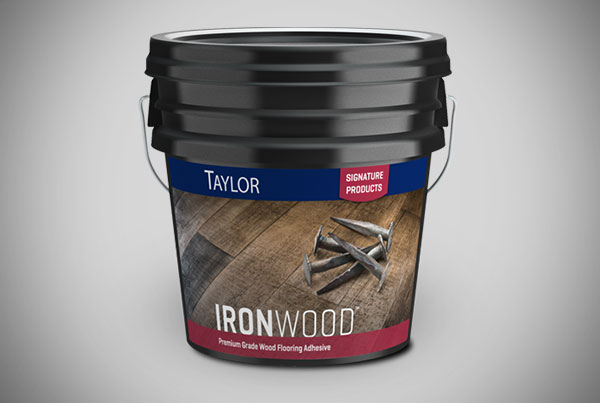
All adhesives are not made the same. When choosing which adhesive is right for your project, consider how hardwood flooring glue is specifically made for hardwood. Hardwood is a natural product and will expand or contract with the change in humidity as it takes on moisture or loses moisture. The difference between hardwood flooring adhesives is that they are made to embrace the natural characteristics of wood, which is why it is specially formulated to be more elastic than other adhesives. The elasticity in hardwood flooring glue ensures that the hardwood will have an ample amount of space to expand and contract without causing the glue to crack or separate. Improper floor preparation, using the wrong adhesive, or applying incorrect amounts are all common pitfalls of a failed flooring installation. Certain hardwood adhesives also contain elements that act as a moisture barrier and/or a sound reduction. Be sure to consider all of these traits when choosing which adhesive to use. Next, let’s move on to installation.
Installation
Once you have decided to use the glue-down floor method, make sure that you leave a large enough expansion gap, depending on the hardwood product you chose, from the wall to allow the wood to contract and expand. The adhesive is spread on an area of the subfloor where the boards are going to be adhered to using a specialized trowel. While installing, be sure to do small areas at a time. Do not pre-spread the adhesive over the entire subfloor as it will dry before you get to that area. Furthermore, periodically during the installation, lift a board after you have placed it to make certain you have full coverage of the adhesive to the back of the flooring product. This will help ensure your floor will remain bonded to the subfloor for years to come. Once your flooring is installed it is best to let it dry for 24 hours, during this time you should not walk on it. The amount of adhesive used is adjusted by the teeth size of your trowel and may be dependent on if you need vapor barrier properties.
Pro:
- Professionally viewed as a permanent method of installation
- Least likely to have deflection between flooring and subfloor, therefore less chance of squeaking
- Will give a solid feel & sound
- Able to use flush mount moldings/transitions
Con:
- Adhesive can add as much as $1.00 per sqft
- Not as DIY friendly as a floating installation
- Rigorous subfloor prep may be necessary
- May have increased labor costs
To learn more about floating installation and nail down installation see our previous post Part 1 & Part 2.

